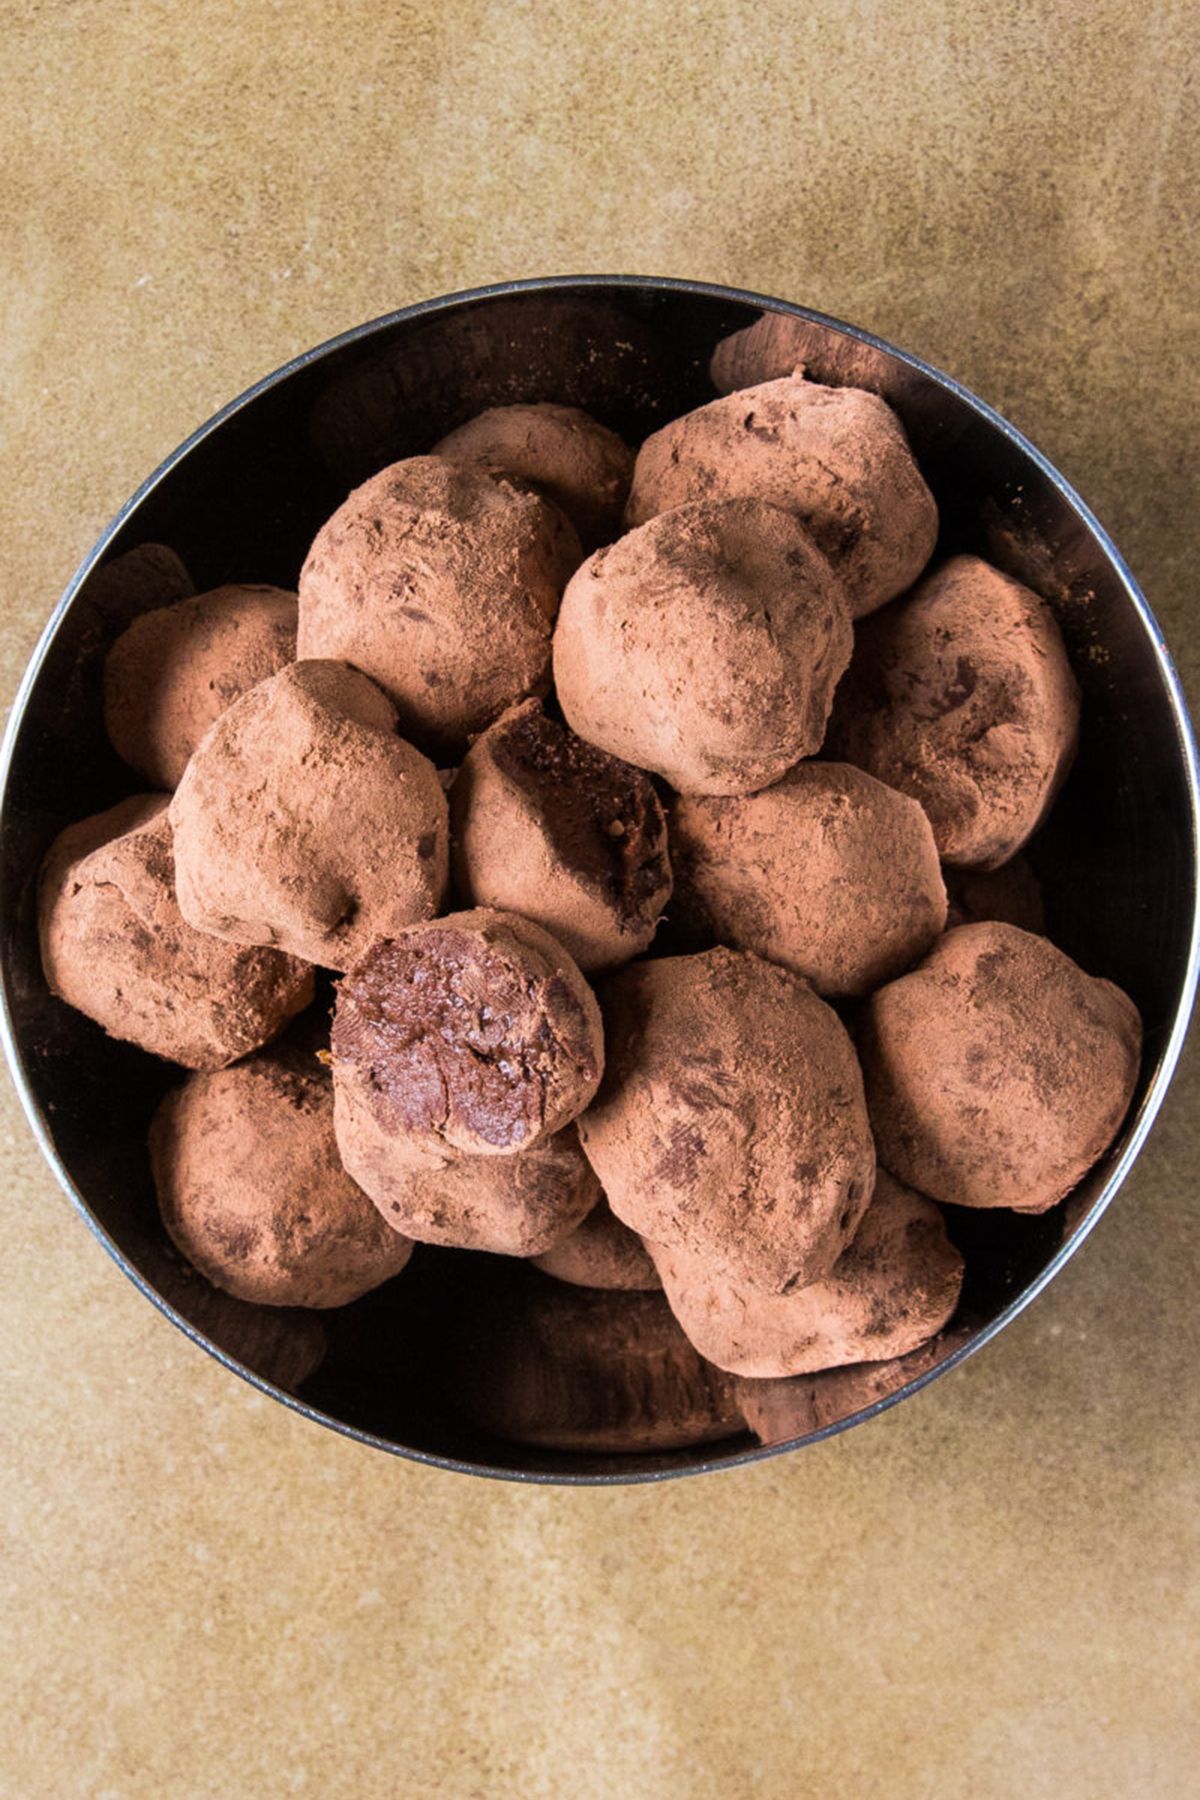
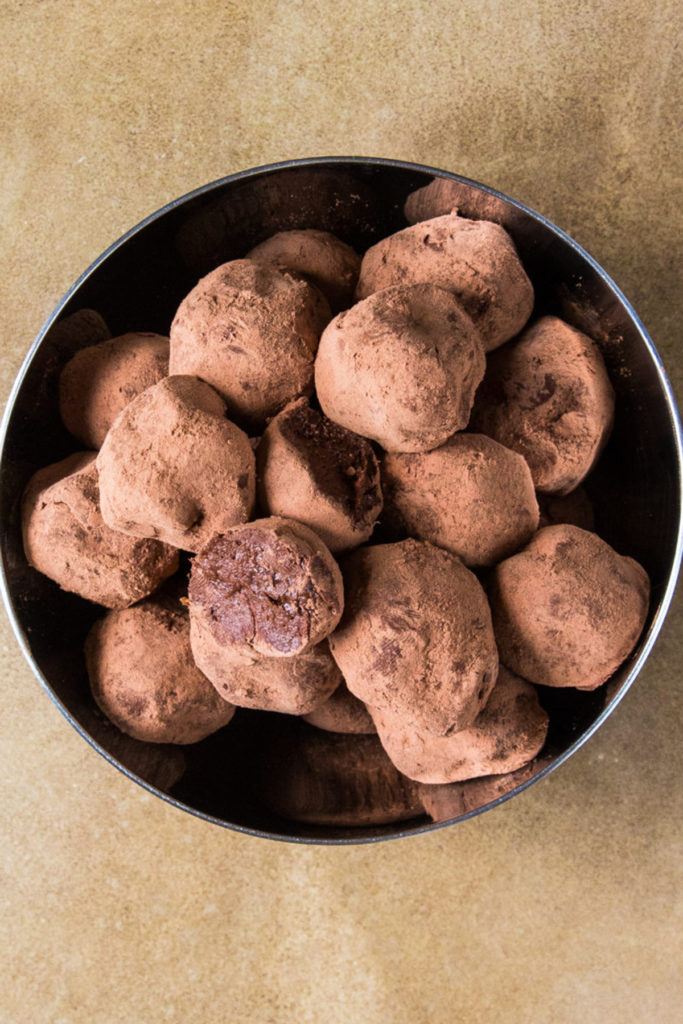
How to Build Your Own Raw Chocolate Truffles


These truffles are fast and easy. You can whip them up for an indulgent treat or, if you’ve got some friends coming over last minute, they make a wonderful accompaniment to a cup of tea. In fact, you could prepare the mix and invite your guests to roll them with you. People love being involved and, this way, you can show them how easy it is to create healthy truffles!
You might also get help with the washing up. That’s a win win.
This recipe is a Build Your Own truffles concept.
Chocolate is such a wonder canvas for spice, aroma and texture and a beautiful way to express yourself too.
My suggestion is that you begin with simple additions and see how it goes. For instance, I used mango as the dried fruit, cashew butter and cardamom powder as the aroma.
It was beautiful and finished an Indian inspired meal very nicely. Avoid adding too many flavours all at once, as you might overdo it.
I know how exciting it is to play, but play responsibly.
If you were painting and you mixed together 5 colours, it would create a murky colour and you’d have to start over again. Same applies here.
How to Build Your Own Raw Chocolate Truffles
Ingredients
- 1 cup mango or dried fruit of choice
- 1 cup medjool dates
- 1/2 cup nut butter
- 1/2 cup cacao powder
- 1/4 cup coconut sugar powdered
- 1 tbsp vanilla powder
- 1 tsp tamari
- 1/3 cup cacao paste melted
Instructions
- If your nut butter is very thick (as all the oil is gone) then you may need to add a little more liquid ( fruit paste or cacao paste ) to this recipe, otherwise it could end up being very heavy.
- Soak your dried fruit of choice in enough water to cover for 1 hour or until softened. You can use warm water to speed this process up. If the dates aren’t naturally moist, soak them 1 hour in warm water, as per the dried fruit.
- Strain the fruit and reserve the soak liquid for blending.
- In a high speed blender combine the soaked fruit and dates and blend into a paste using as little water as necessary to get the paste consistency.
- Transfer to the bowl of your food processor and add the next set of ingredients. Process to combine well.
- Add the cacao paste and pulse to combine.
- Transfer to a container and place in the fridge until firm enough to roll, about 1-2 hours. It can remain in the fridge longer, if you need to make it ahead of time. You can also set in the freezer if you want them faster.
- Once ready to roll, powder your hands very lightly in cacao powder and roll the mixture into small balls.
- Place on a greaseproof paper lined tray or excalibur tray lined with a nonstick sheet.
- Once all mix is rolled, pop in the fridge to set – about 15-20 minutes.
Notes
 Brands like Doterra and Young Living are medical grade and are “prescribed” for internal use.
Get the best quality of essential oils and spices that you can afford, it makes all the difference. The bulk section in health food stores can tend to have really good stuff. In the UK Steenbergs is amazing quality. In the USA Whole Foods brand is really good stuff, from what I am tried.
The general cooking rule applies here; You can always add, you can’t take away. Add a little at a time, taste and add more as needed or wanted.
This recipe and tutorial was written by Amy Levin, you can check out her website, including her live classes here.