Swiss Roll
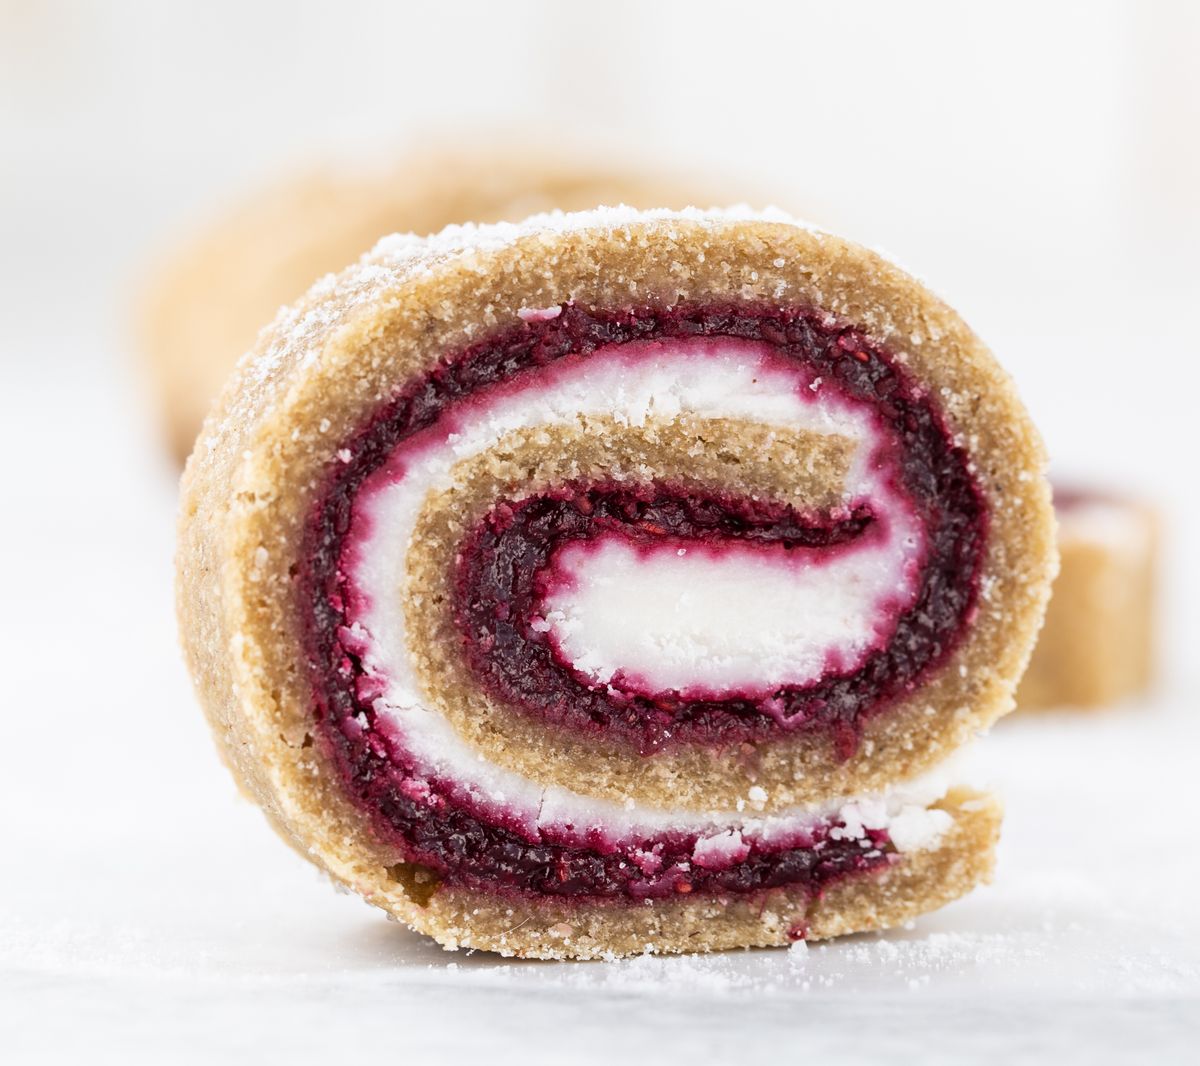
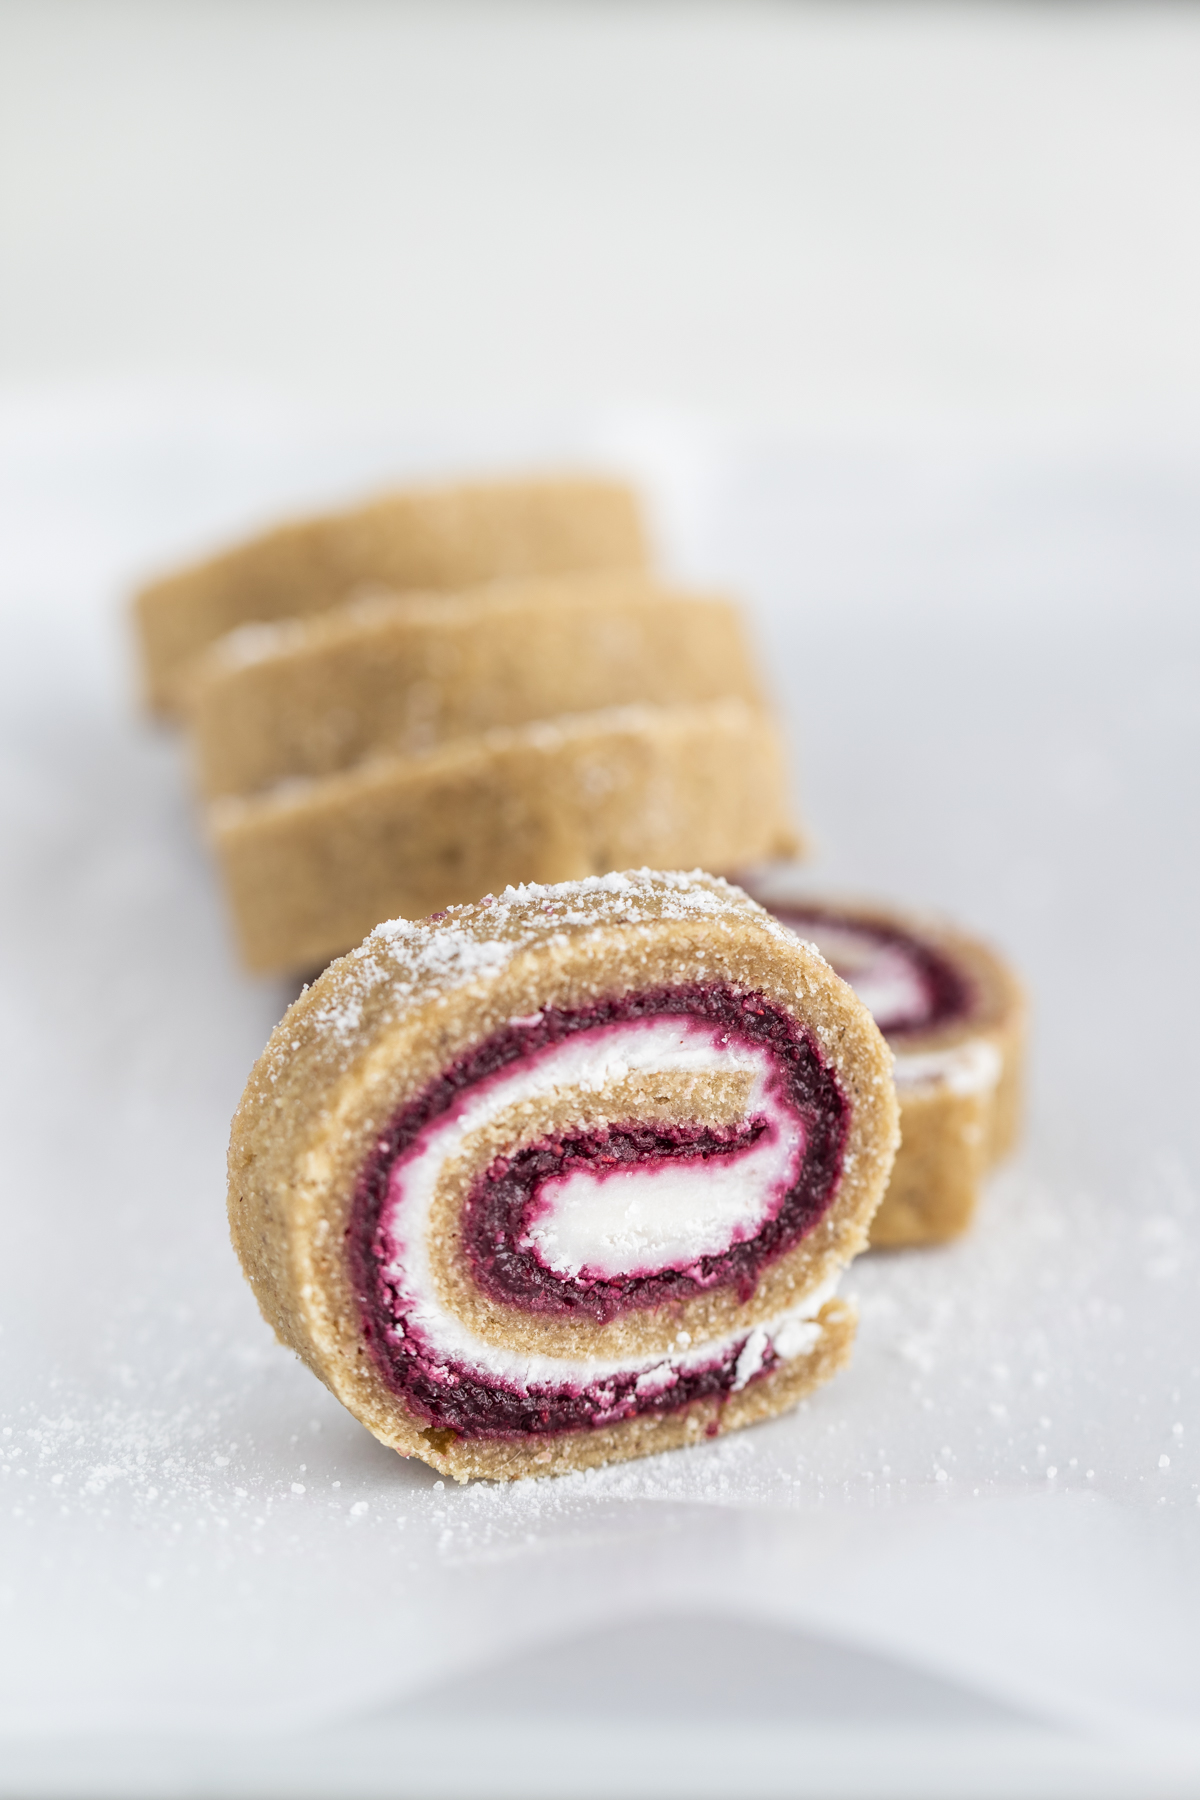
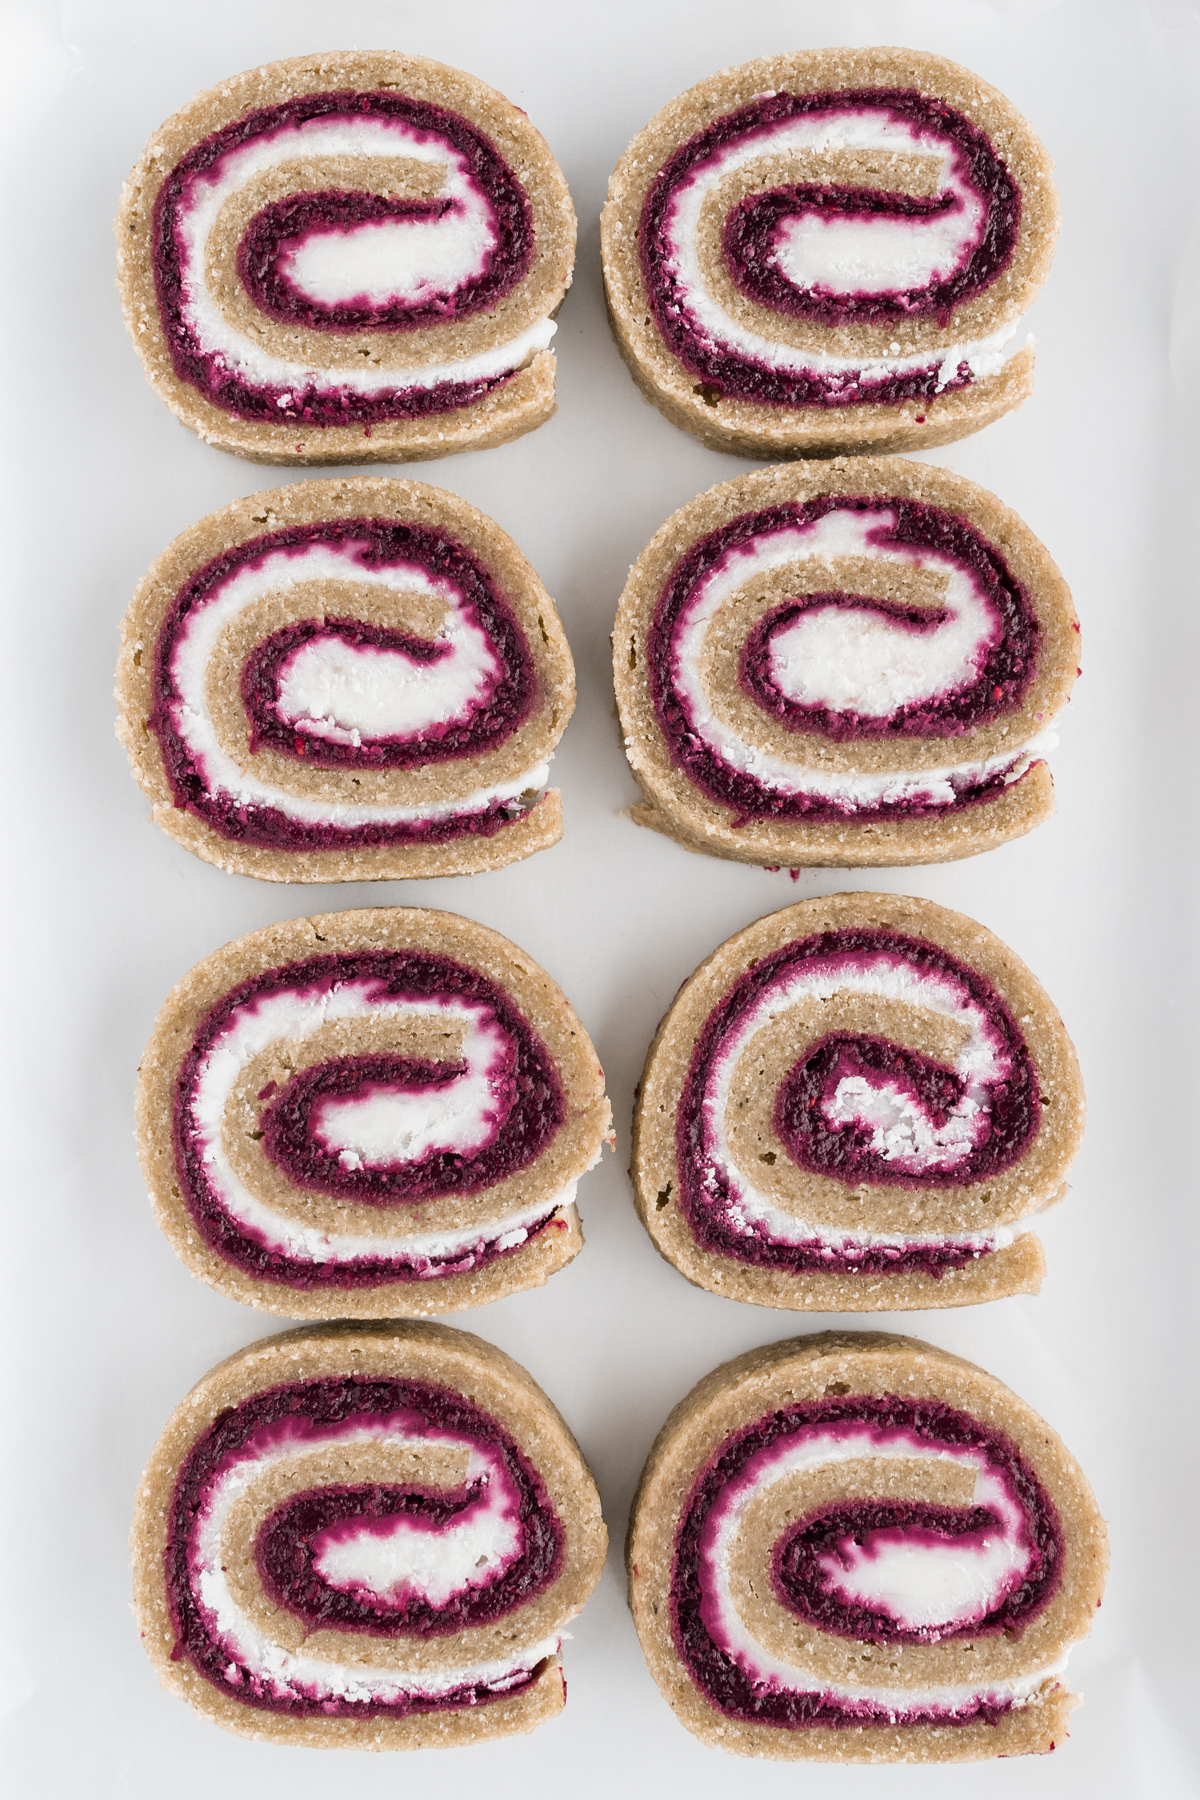
This Raw Swiss Roll is made of soft dehydrated pastry, raspberry jam and coconut frosting. So fun to make and share with friends and family when you want a sweet treat.
Want to try something fun and delicious? A sweet treat you can enjoy without worrying about nasty ingredients?
This Raw Swiss Roll is just that. The pastry is moist and spongy. The jam is perfectly sweet with a little zing. And the coconut icing is sweet and creamy. Heaven.
I’ve included a video for each stage. As I write this, those videos were published only on our Raw Chef Youtube Channel some years ago. I wanted to do this update and full post, because quite frankly it’s a wonderful recipe.
In the videos you see me make the Swiss Roll and Coconut Frosting. Amy Levin makes the jam. Amy’s the specialist in Raw Desserts, so I had help from her with the Coconut Frosting. If you want to check out the amazing desserts she creates, do also take a look at Raw Desserts at Home and Modern Raw Desserts.
How to Make Raw Swiss Roll
What follows are some tips and an overview, plus detailed videos on how to make this Raw Swiss Roll. The full printable recipe with quantities is at the bottom of the post.
- First we’re going to make the jam. I’m using raspberries, but you can use any berry. Do make sure you get frozen fruit and thaw them out. That’s because you’ll get a nice amount of juice separating from the fruit, which makes for a fantastic jam.
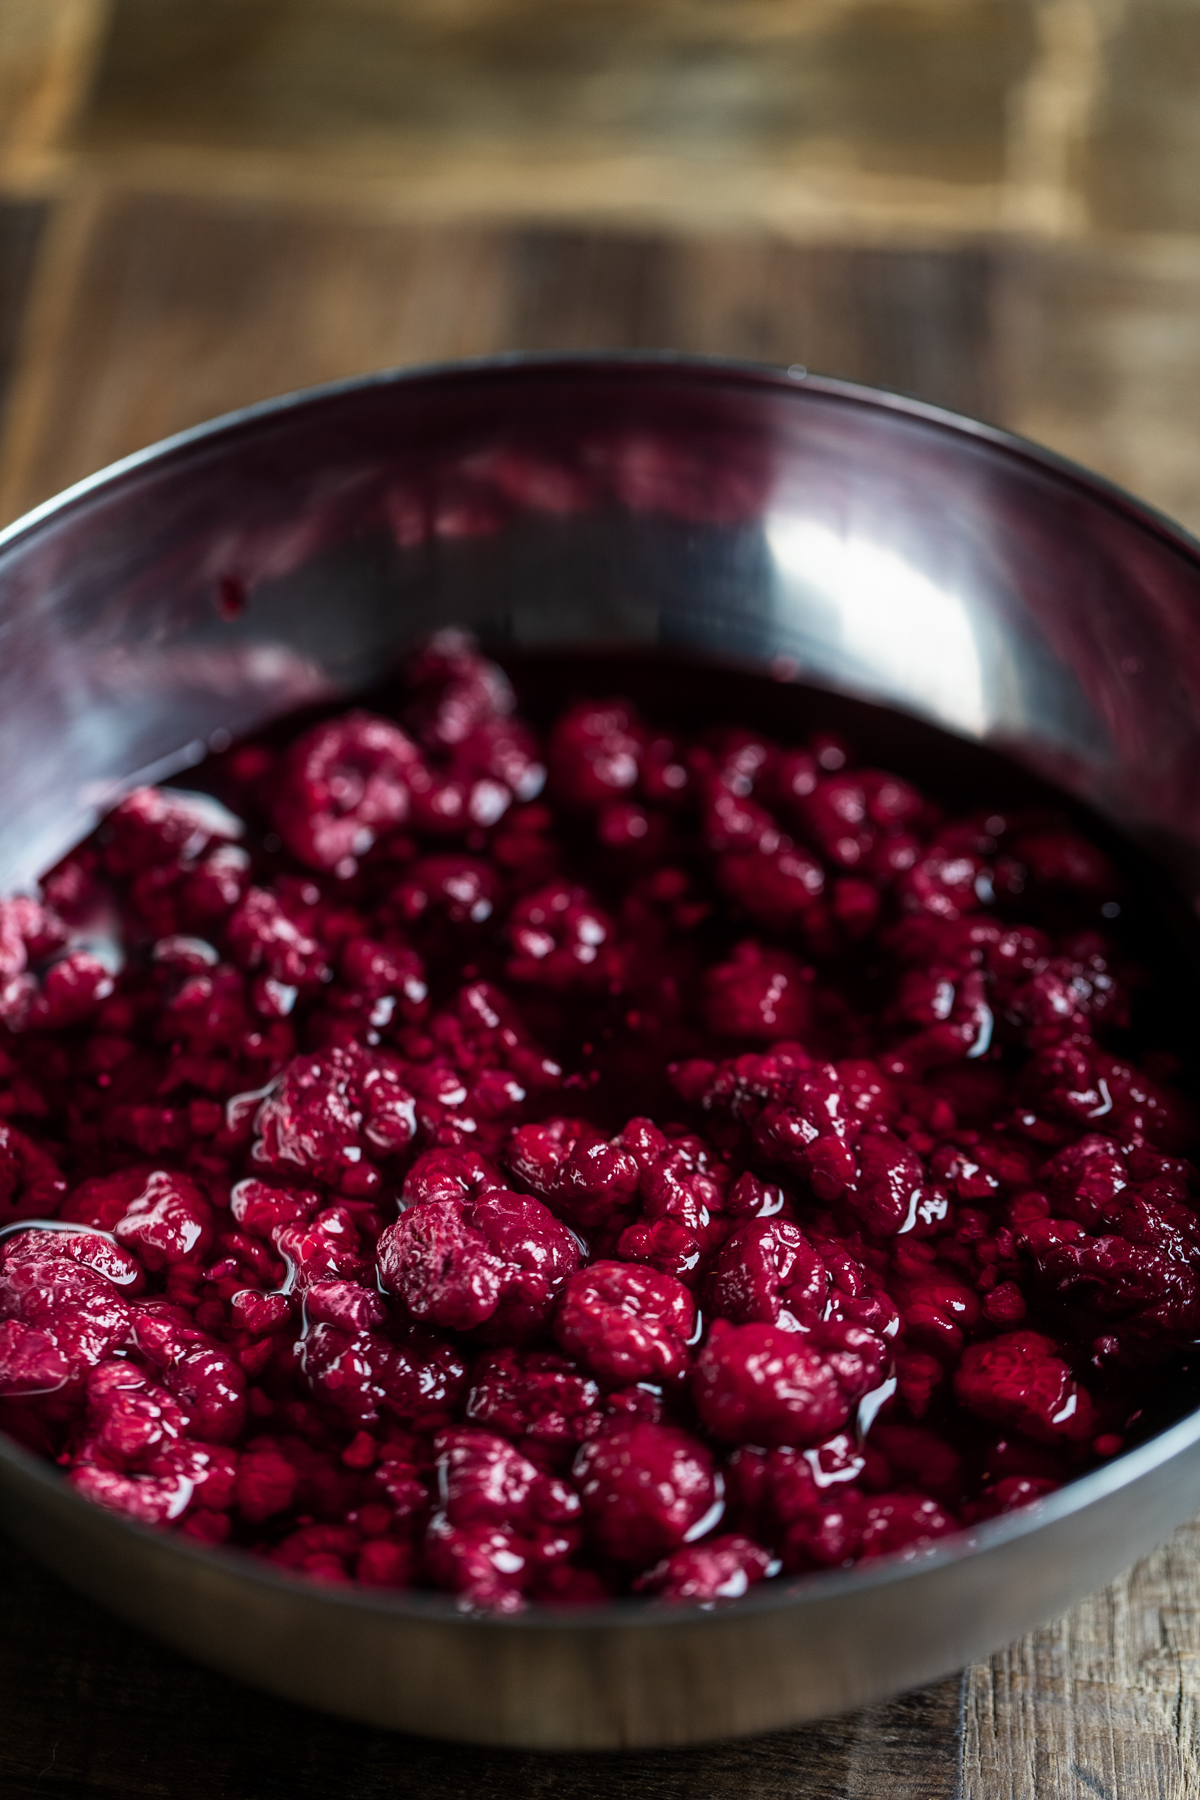
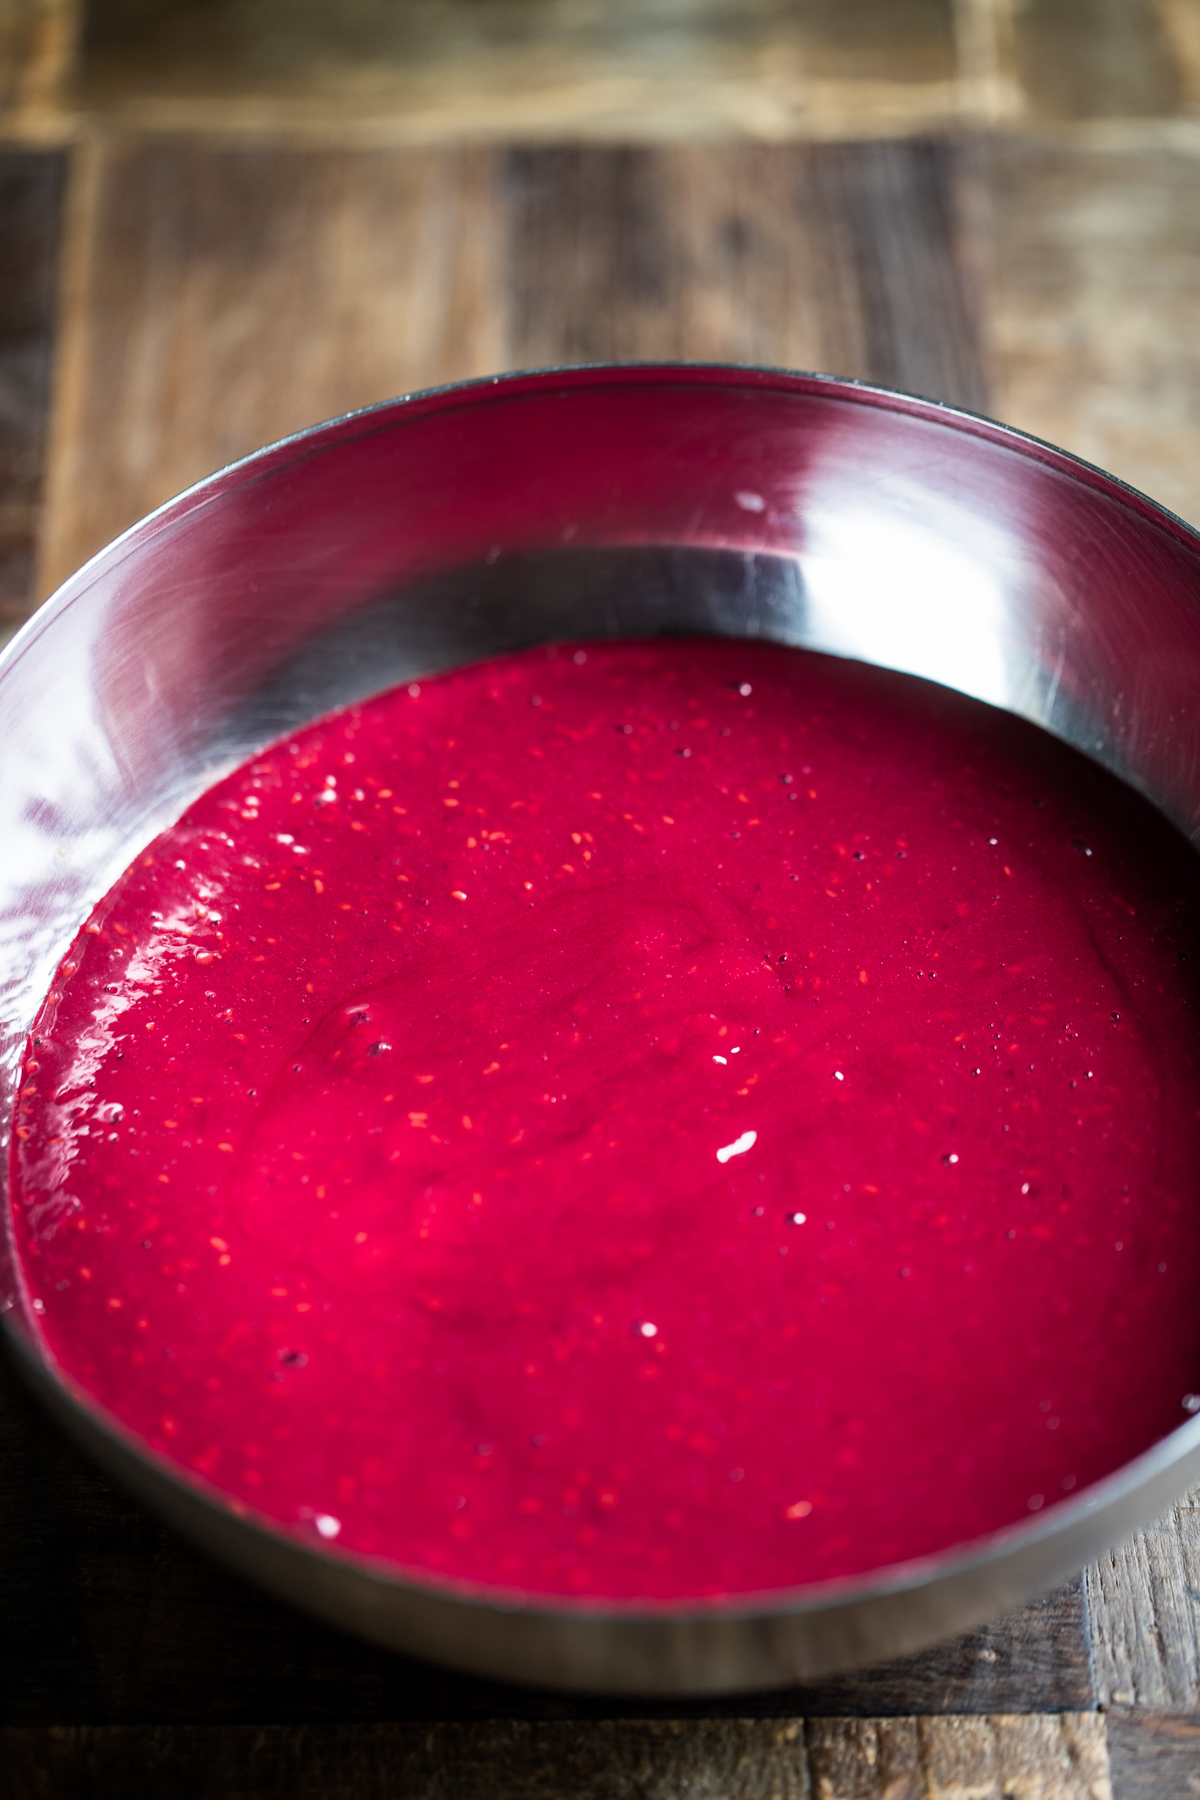
- Blend the jam ingredients together or you can just crush them with your hands. Put the bowl into the dehydrator and stir every once in a while, which helps it to reduce down faster.
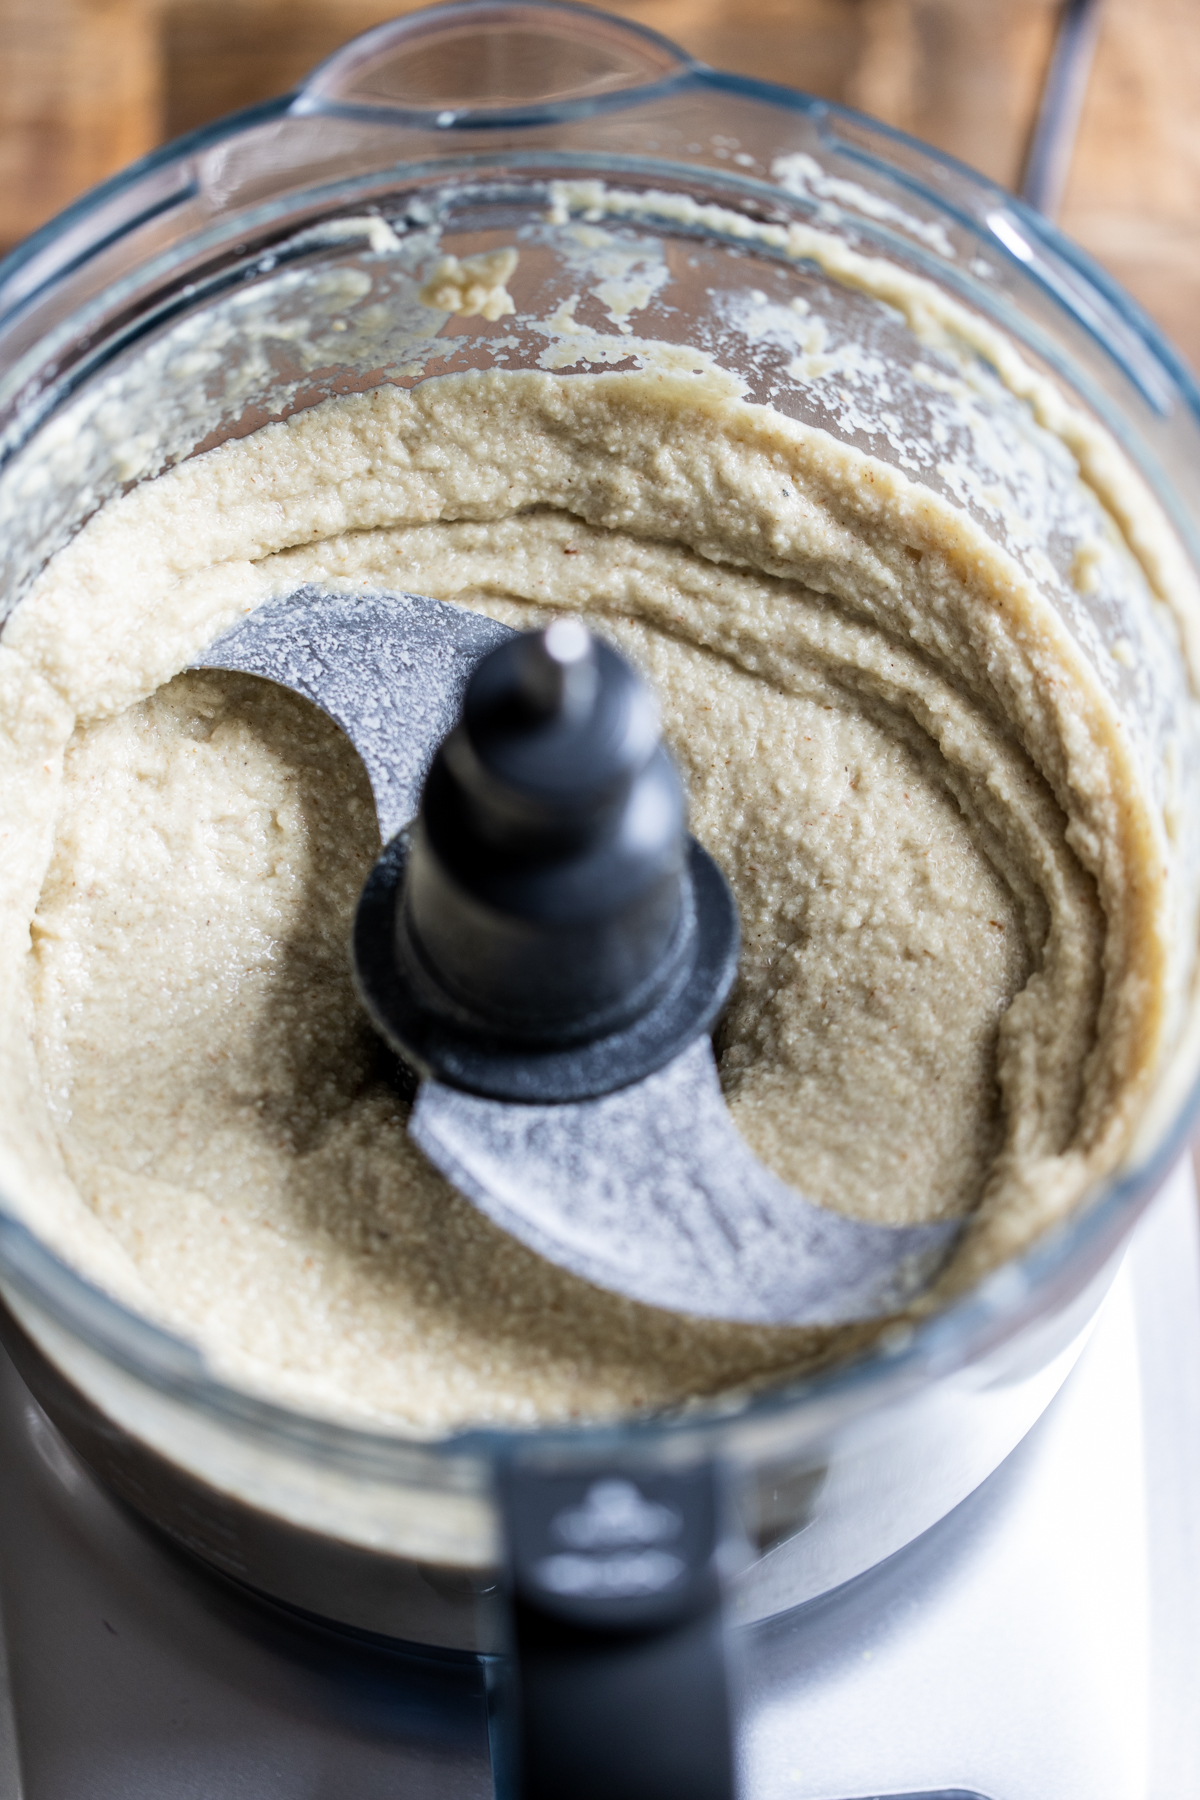
- Next you’ll grind the pastry ingredients in a food processor.
Here’s a video for this stage:
- Spread the mixture on a nonstick dehydrator tray. I spread it a little larger than I actually need, so I can trim the edges. This makes the edges nice and neat. It also means I have offcuts that I can test the readiness of the pastry with.
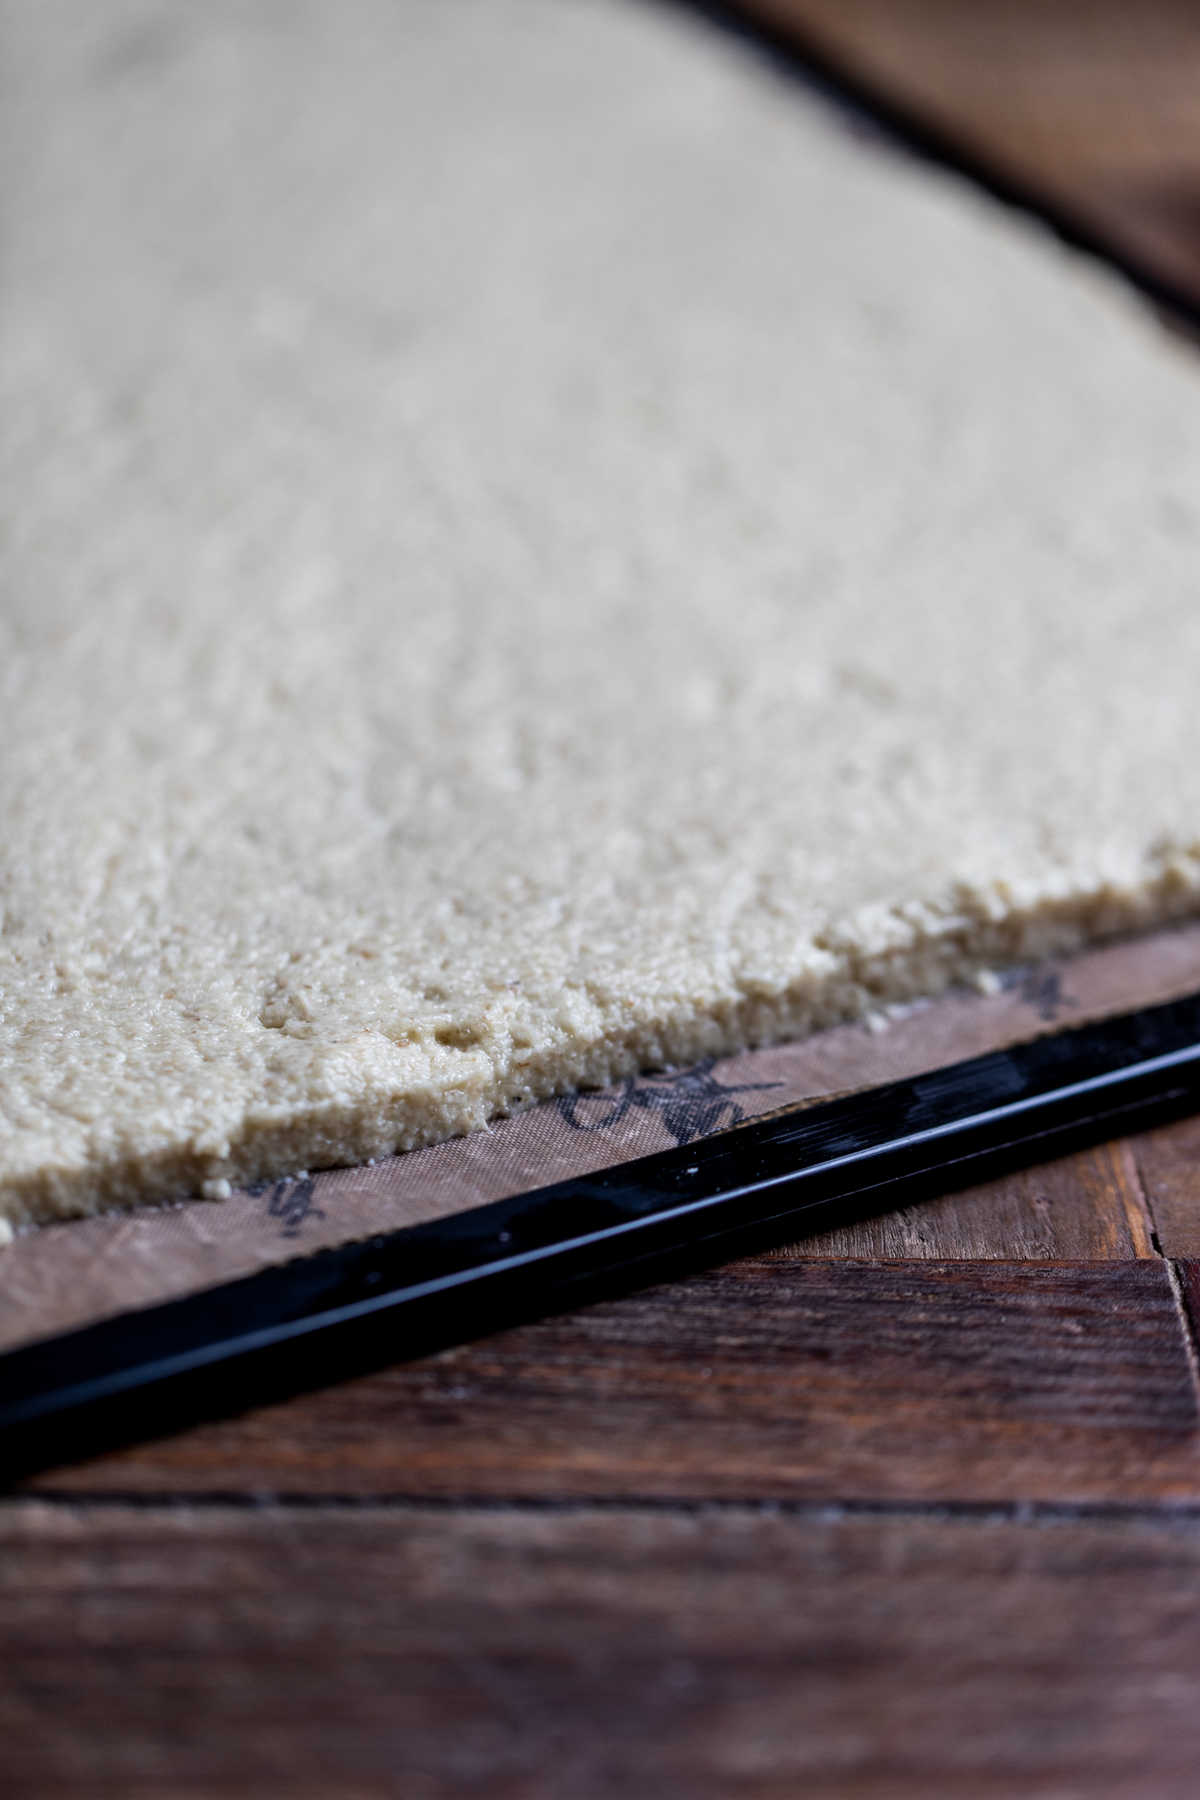
Here’s a video on how to make the pastry:
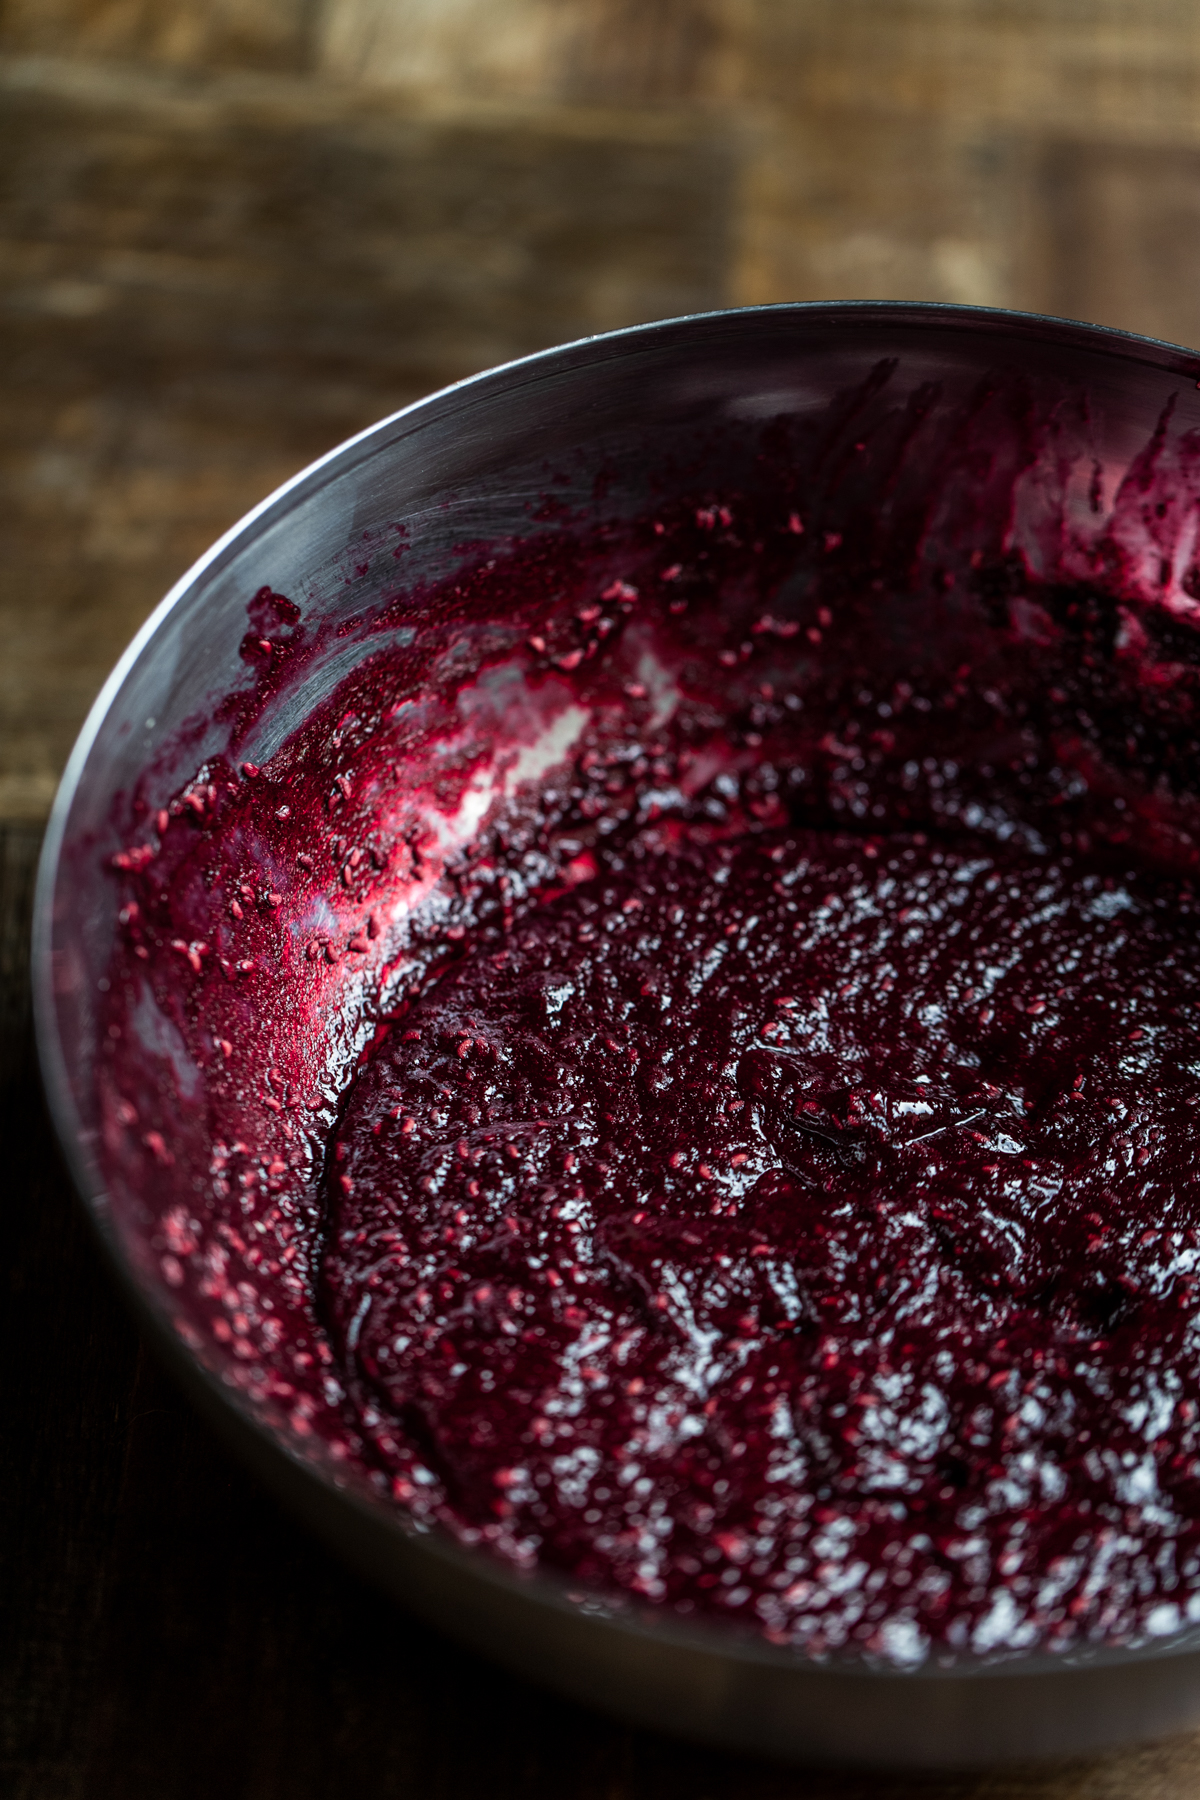
- If you’ve been stirring your jam every couple of hours or so, you’ll get to this point below where it’s reduced right down to this beautiful thick and juicy jam.
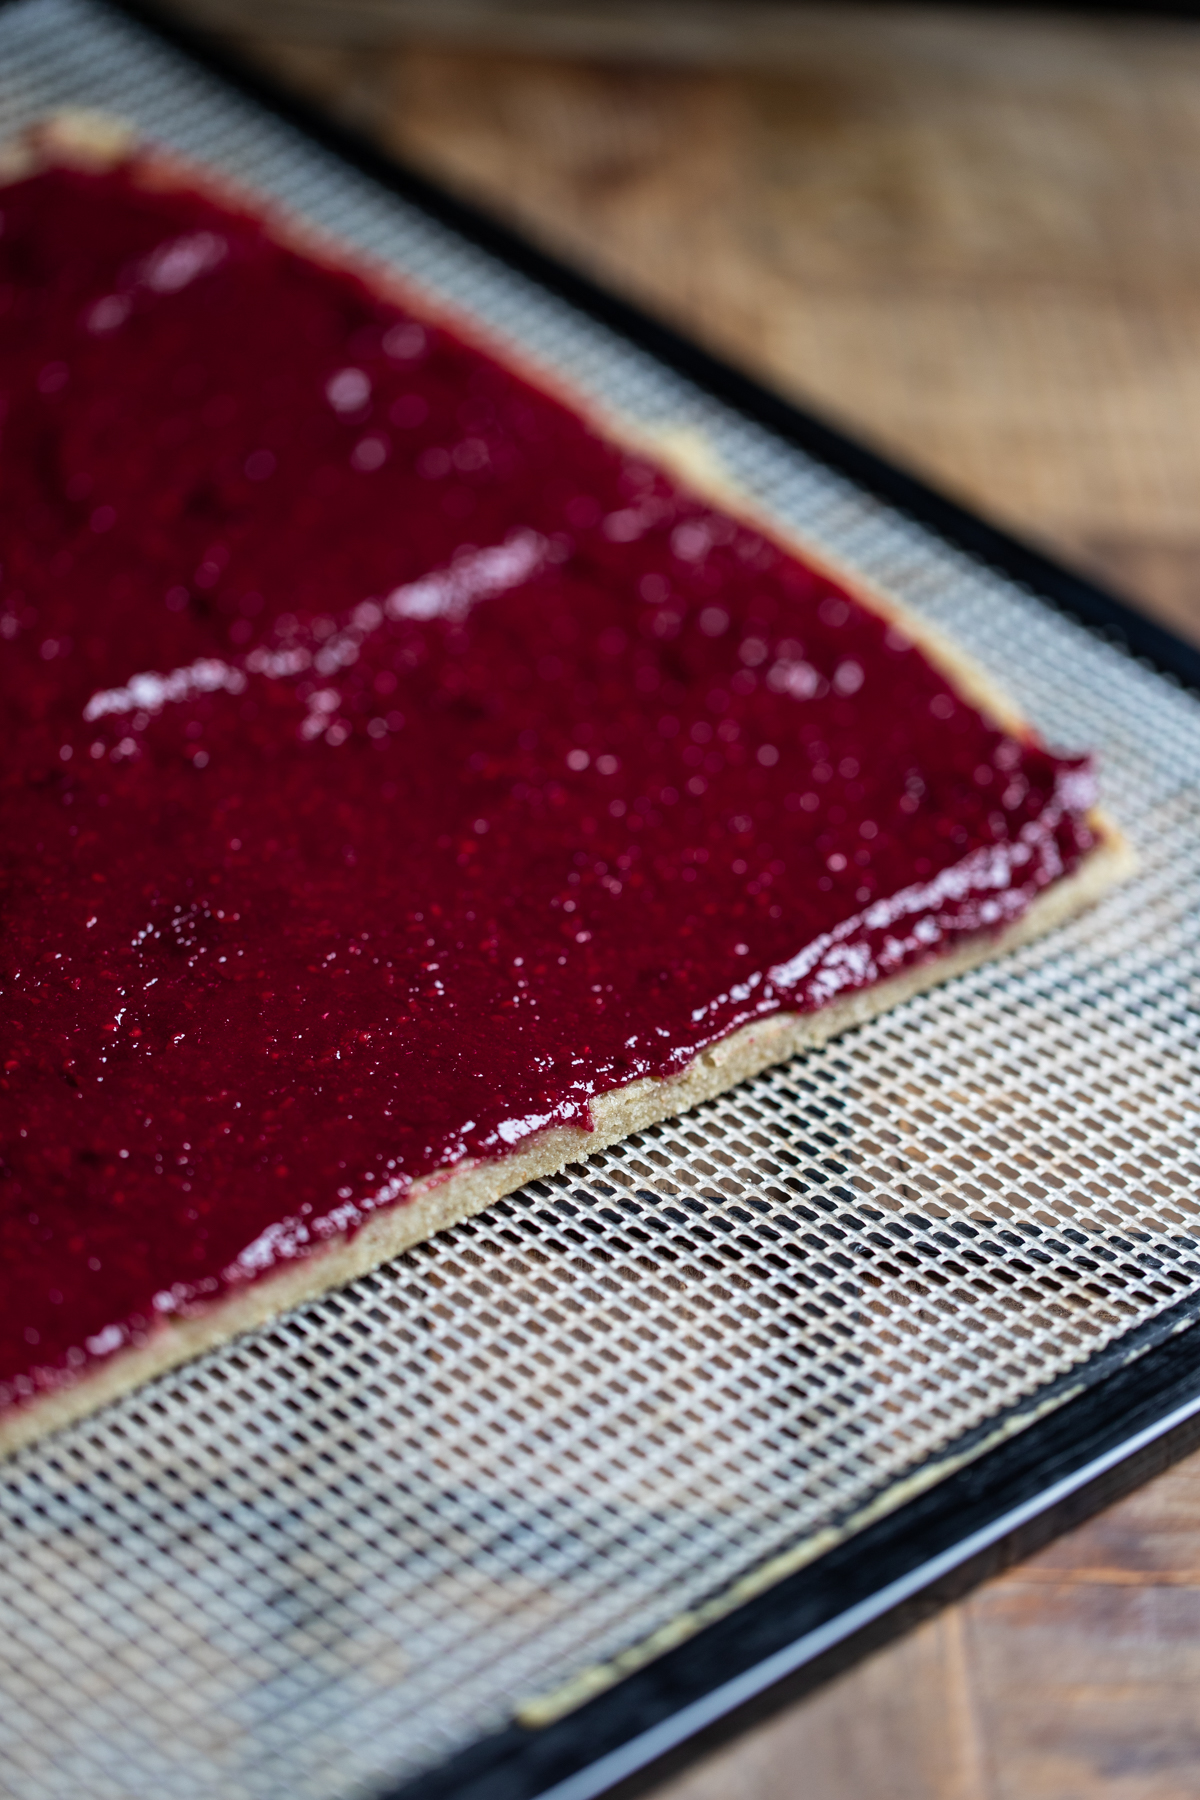
- This should spread really nicely on your pastry. I’ll sometimes pop it back in the dehydrator at this point to dry and firm up a little more. This makes it easier to spread the coconut butter frosting.
- The last stage before rolling is to spread the frosting. If you find it difficult to spread the frosting, warm it in the dehydrator for a little while. That will loosen it up.
- I find it much easier to roll if it’s on a piece of baking parchment. It really seems to help with the very first part of the process.
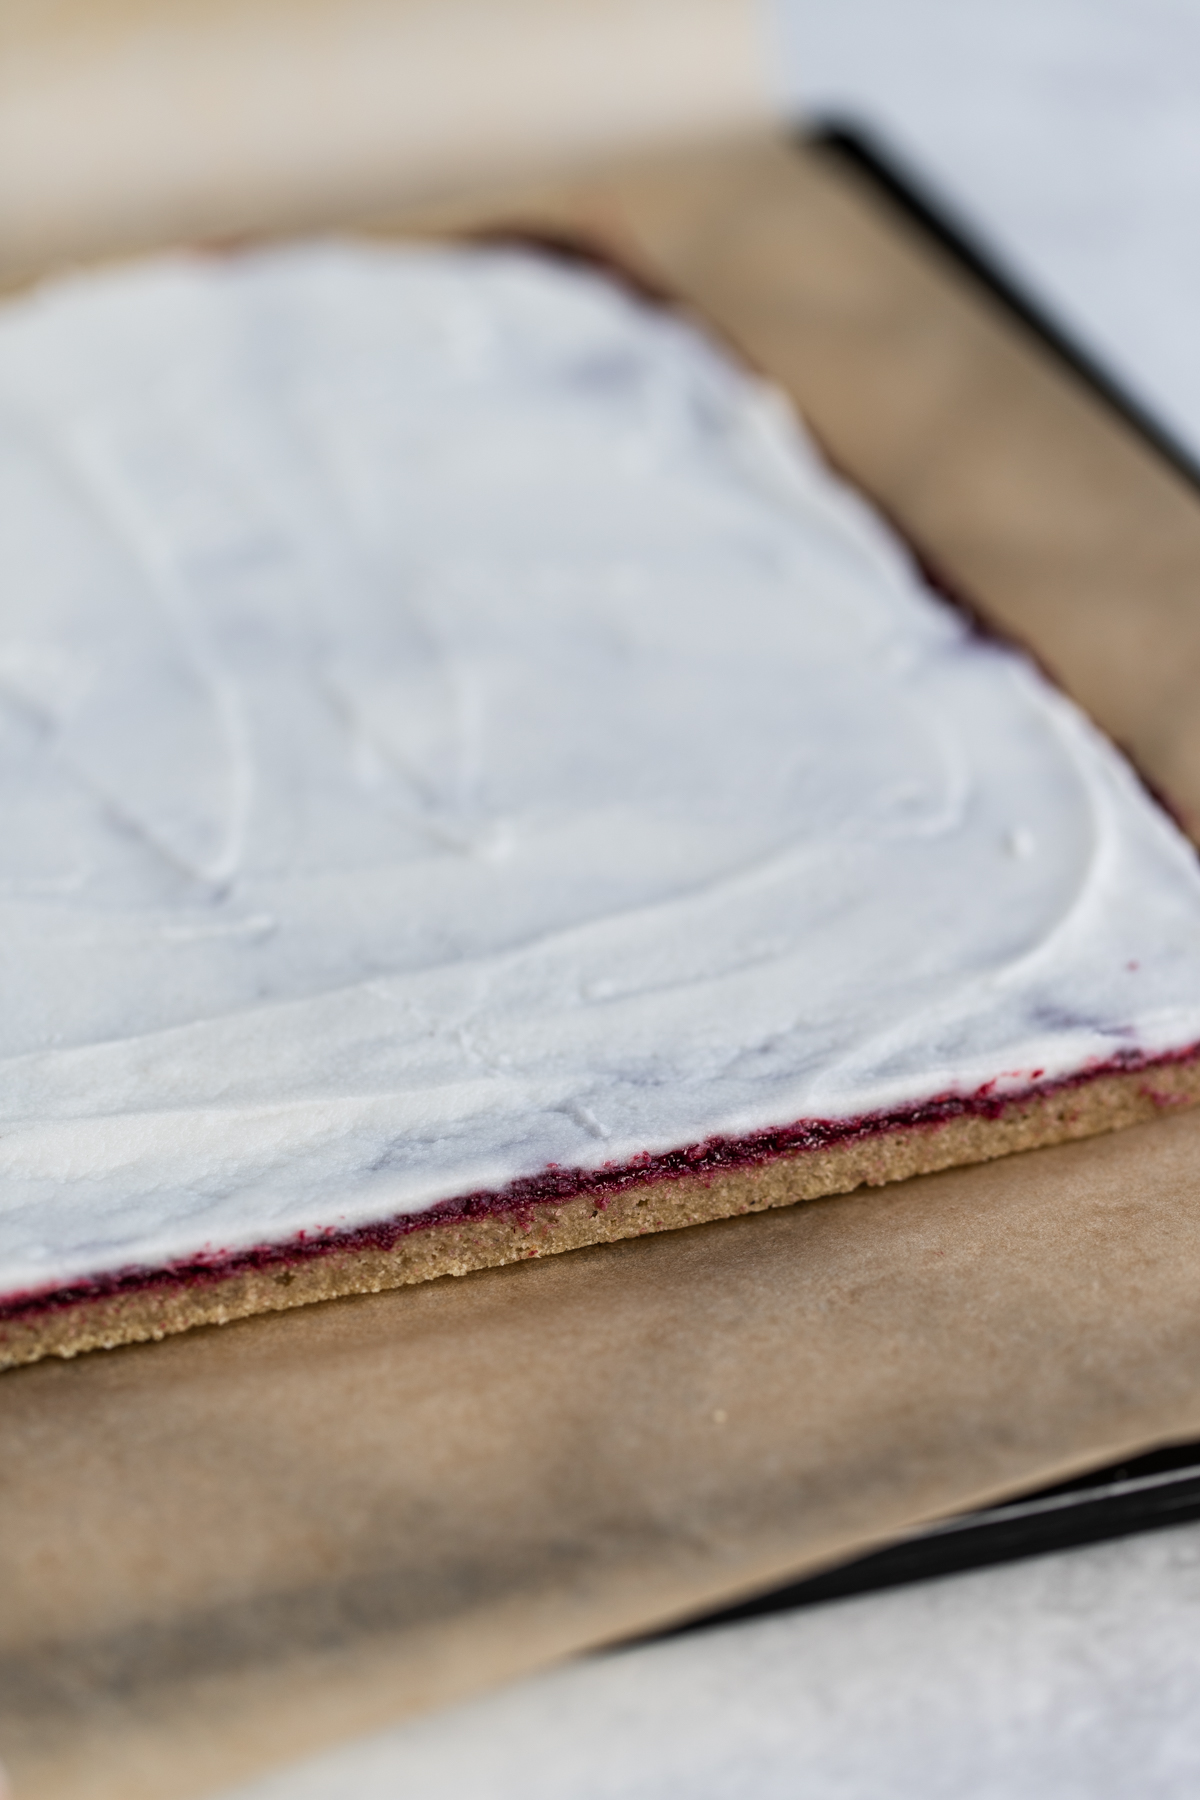
Here’s a video showing the icing (frosting):
Here’s a video on making the pastry completing this Raw Swiss Roll
Rate This Recipe4.83 from 23 votes
Swiss RollServings12 pieces
Nutrition (For one serving)Calories: 214kcalCarbohydrates: 24gProtein: 4gFat: 12gSaturated Fat: 4gSodium: 67mgPotassium: 157mgFiber: 10gSugar: 7gVitamin A: 43IUVitamin C: 11mgCalcium: 50mgIron: 1mg
IngredientsUS Customary - Metric
Pastry (Wet)
- 1 courgette (zucchini) (peeled)
- ¼ cup maple syrup
- 1 teaspoon vanilla extract
- ¼ teaspoon salt
- 2 cups water
- 2 tablespoons coconut oil
- ½ cup xylitol
Pastry (Dry)
- ¼ cup psyllium husk (for colour I prefer husk to powder)
- ½ cup oat flour
- ½ cup ground almonds
- ½ cup coconut flour
- ½ cup cashews
Berry Jam
- 3 cups raspberries (or other berries)
- ⅓ cup xylitol
- 1 tbsp lemon juice
- 1 tsp vanilla extract or powder
Icing / Frosting
- ½ cup coconut butter (melted/softened)
- 2 tsp xylitol
- ½ cup warm water
Instructions
Pastry (Wet)
- Blend all ingredients in a high-speed blender until smooth.
Pastry (Dry)
- Grind all ingredients in a food processor.
- Whilst the food processor is running, add the blended mixture from the first stage.
- Spread about 1/4" thick evenly onto a dehydrator nonstick sheet.
- Dehydrate at 115 degrees F for 6 to 8 hours. After the first couple of hours you should be able to flip it off the nonstick sheet so it dries directly on the mesh tray.
- You're looking to get a very pliable and slightly moist pastry inside. I like to trim the pastry during drying to get off-cuts for testing pliability and moisture, so I know it's ready for the jam.
Berry Jam
- *It’s best to use frozen fruit because as they thaw, they release their own juices and make for a much nicer jam consistency and flavour If using frozen berries:
- Combine all ingredients in a suitably sized mixing bowl. Can be crushed by hand or blended.
- Put the entire bowl in the dehydrator, at the lowest temp setting, for 8 hours or more, stirring every couple of hours. You're looking for it to thicken up to the point it's spreadable like jam.
- Allow to cool at room temp before storing in an airtight container in the fridge for up to 1 month.
Icing / Frosting
- In a blender combine the manna and stevia and get it turning over in the blades
- With the blender running on low, slowly drizzle in the water
- At this stage, you can use this as a glaze on cookies, donuts and the like or you can cool it in the fridge and then put it in a piping bag and use it as an icing on cakes, muffins, etc
- If you are making this ahead of time and will need to re-melt it, simply do so by popping it in the dehydrator on 105F for 10 minutes or so until it melts down. Do not overheat or you may lose the emulsification and the oils will separate
- Store it in the fridge in an airtight jar for up to 10 days
Rolling
- Spread the jam to cover the pastry. I like to return it to the dehydrator for an hour or so to make sure the jam is dry to the touch.
- If your icing is fairly liquid you'll want to cool off the pastry and jam in the fridge, otherwise your icing will melt further and will leak out when rolling.
- When ready spread your icing on to the jam.
- Using parchment under the roll carefully lift up the edge and start to roll away from you. Using parchment tends to help avoid cracking of the pastry.
- Place in the freezer for an hour or so, to enable you to cut it cleanly. Rate This Recipe 4.83 from 23 votes Did you make this recipe?Tag @therawchef on Instagram or hashtag it #therawchef!
